Here’s a great SeaDek Sheet Material DIY post from The Hull Truth (www.thehulltruth.com) that was written by our customer Jared:
“Felt like I should contribute to the forum and will post my experience with doing SeaDek myself. I ordered two of their large rolls of the gray and will be making my own templates, cutting them, and putting it down.
First, make the templates:
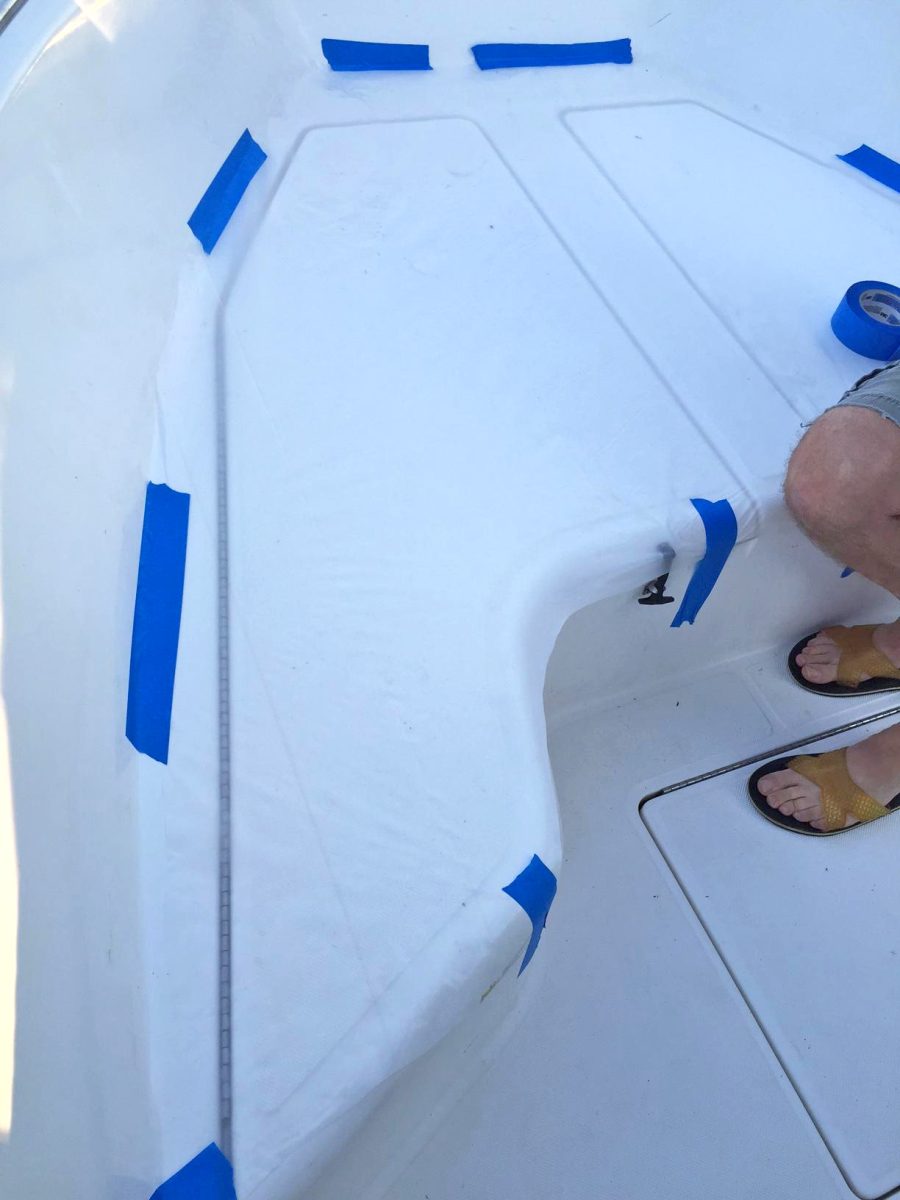
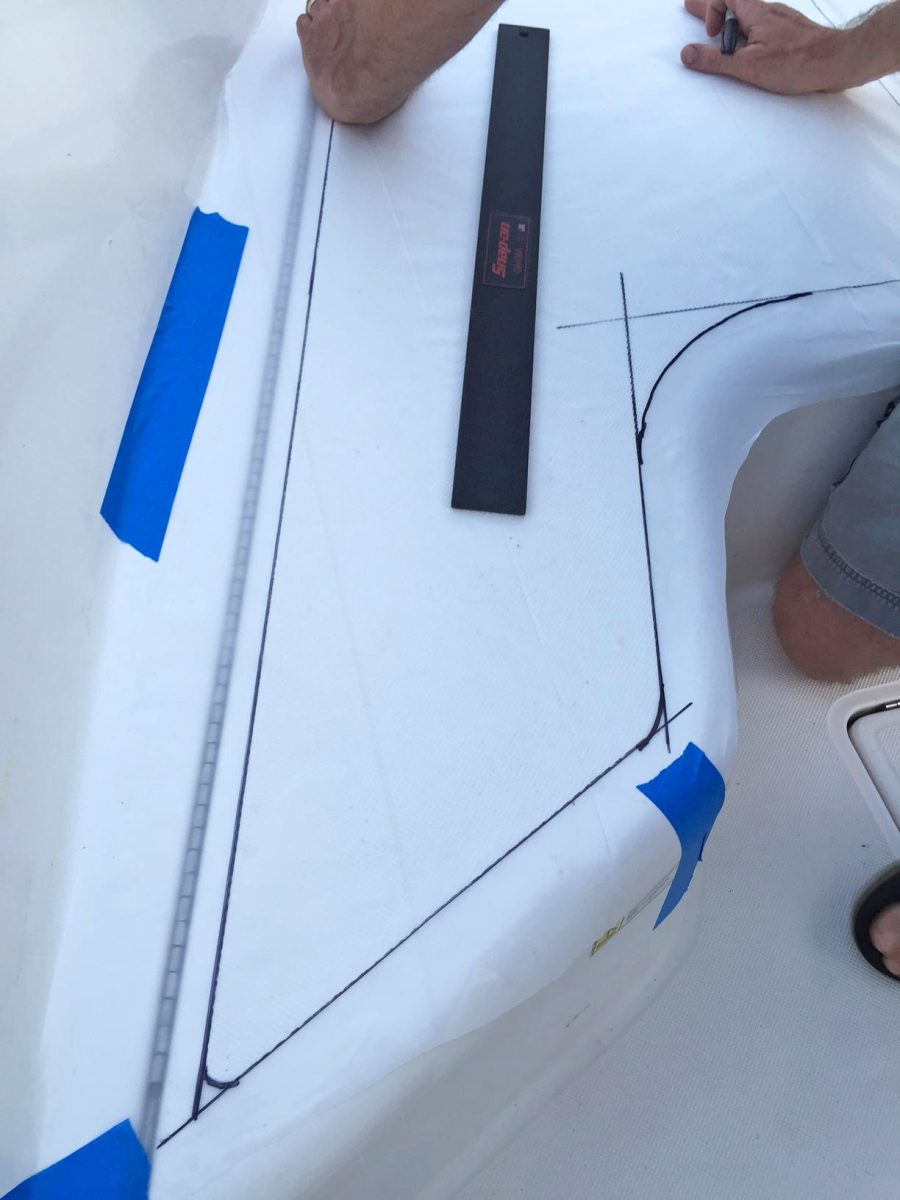
We used a clear material, cut to size, and held down with painters tape. Next using a straight edge and sharpie we did all the straight lines, then did the corners by hand:

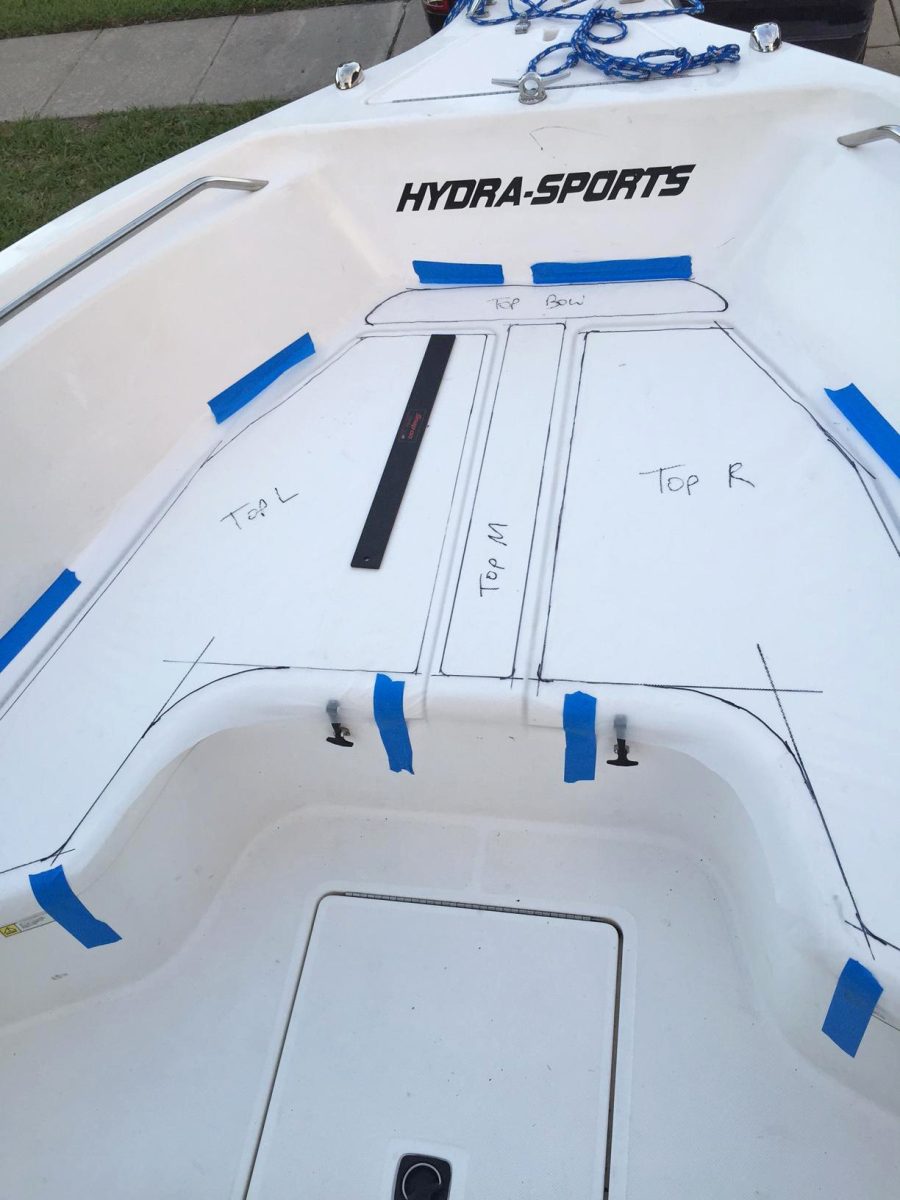
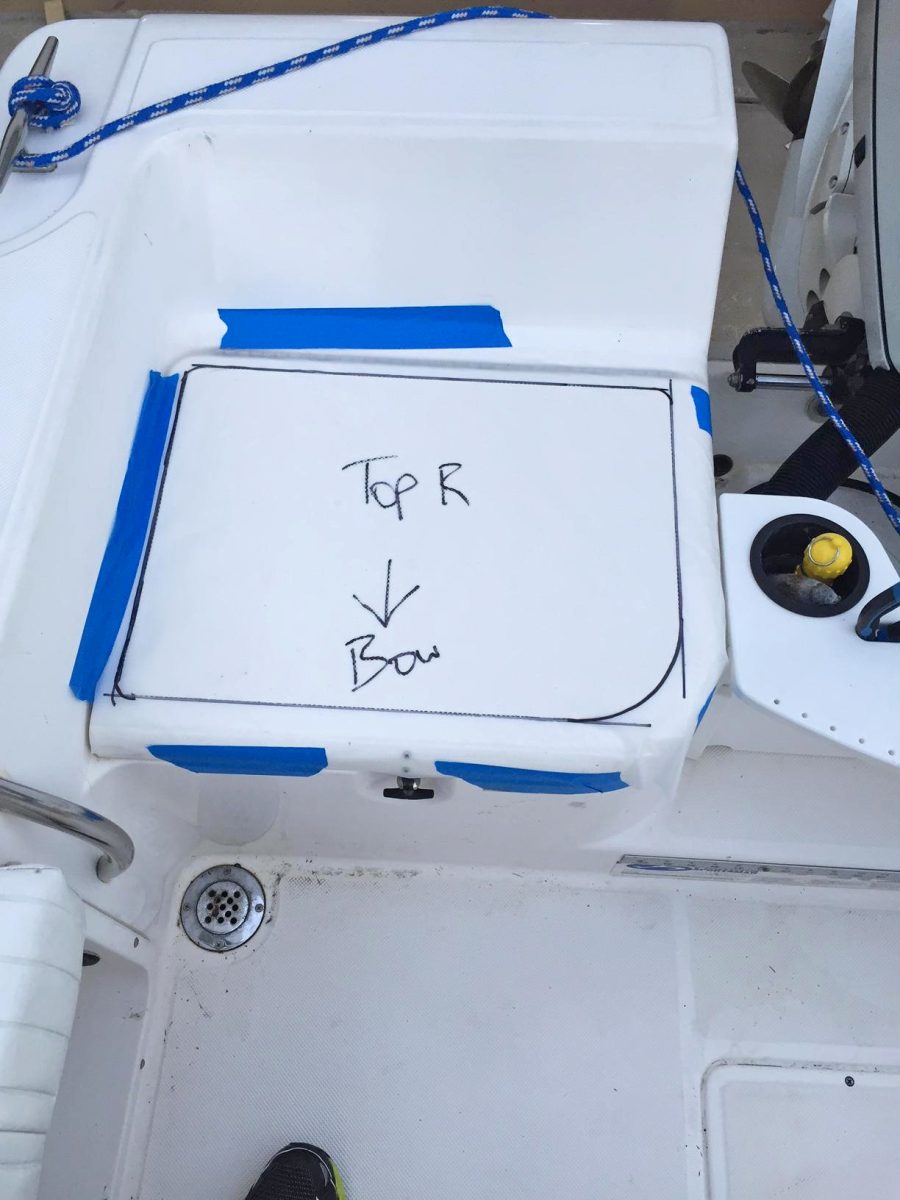
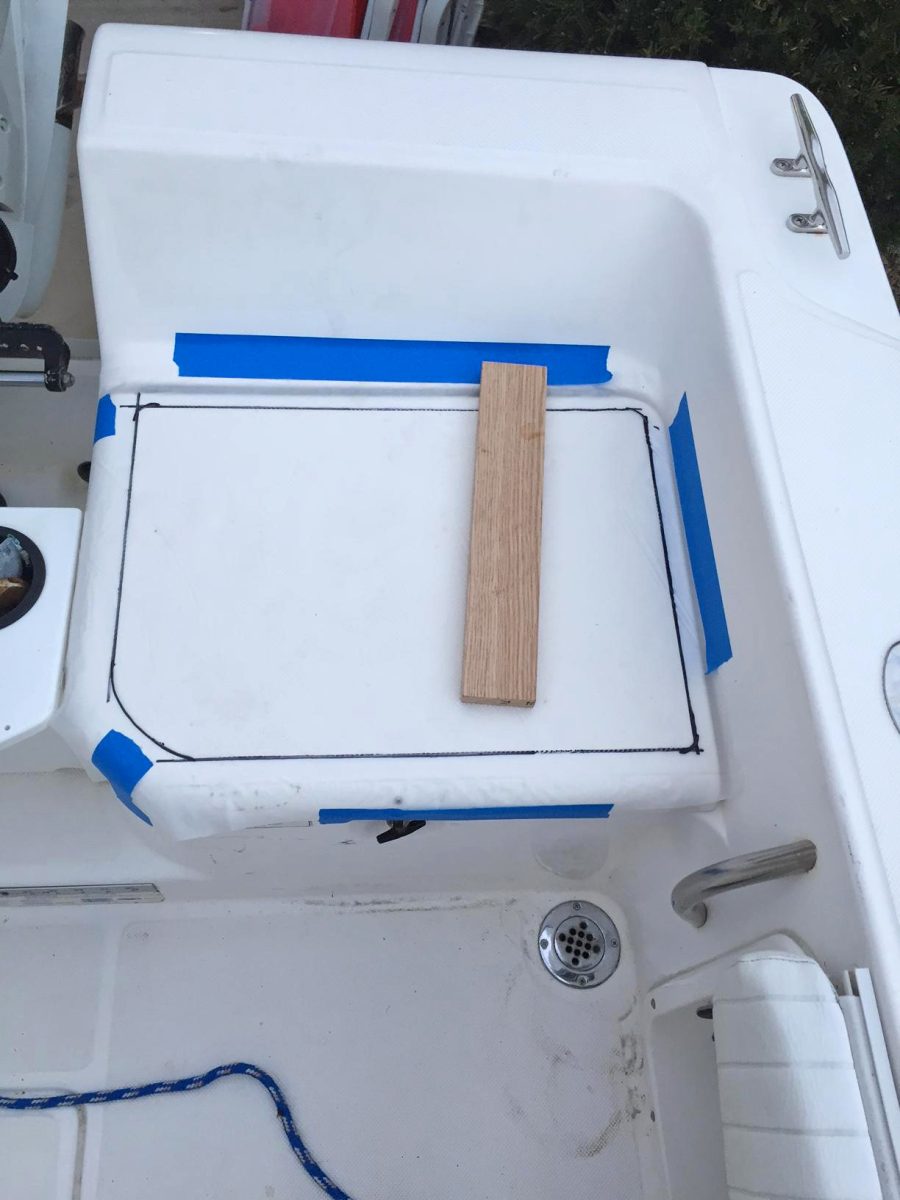
Make sure you clearly mark each piece and where they go:

Next we made a working table with a piece of plywood, put the SeaDek upside down on top of it, and taped the templates on top:

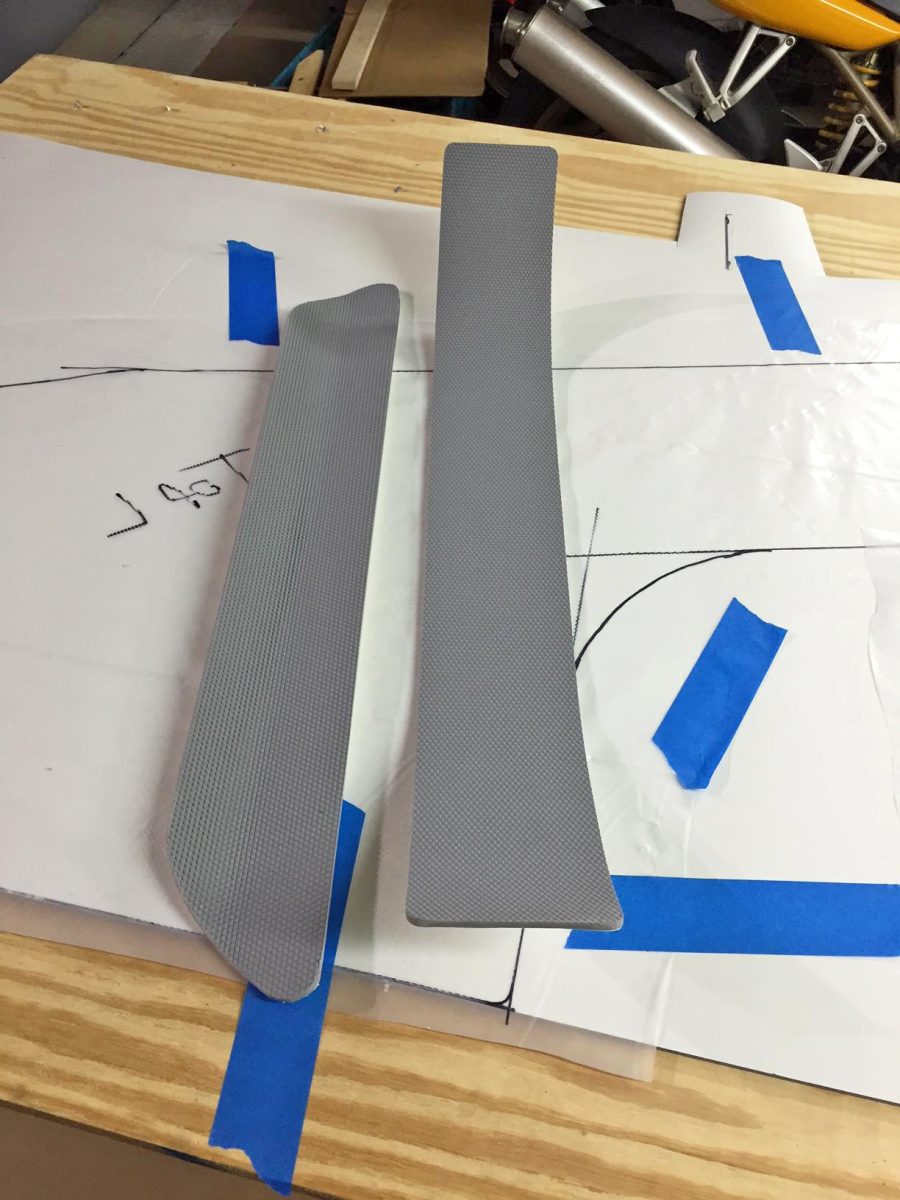
After we cut them, for the corners we used scissors and rounded the edge, then sanded down the corners to not have any sharp corners. Also you can sand down any imperfections of your straight edge cuts if you messed up slightly:
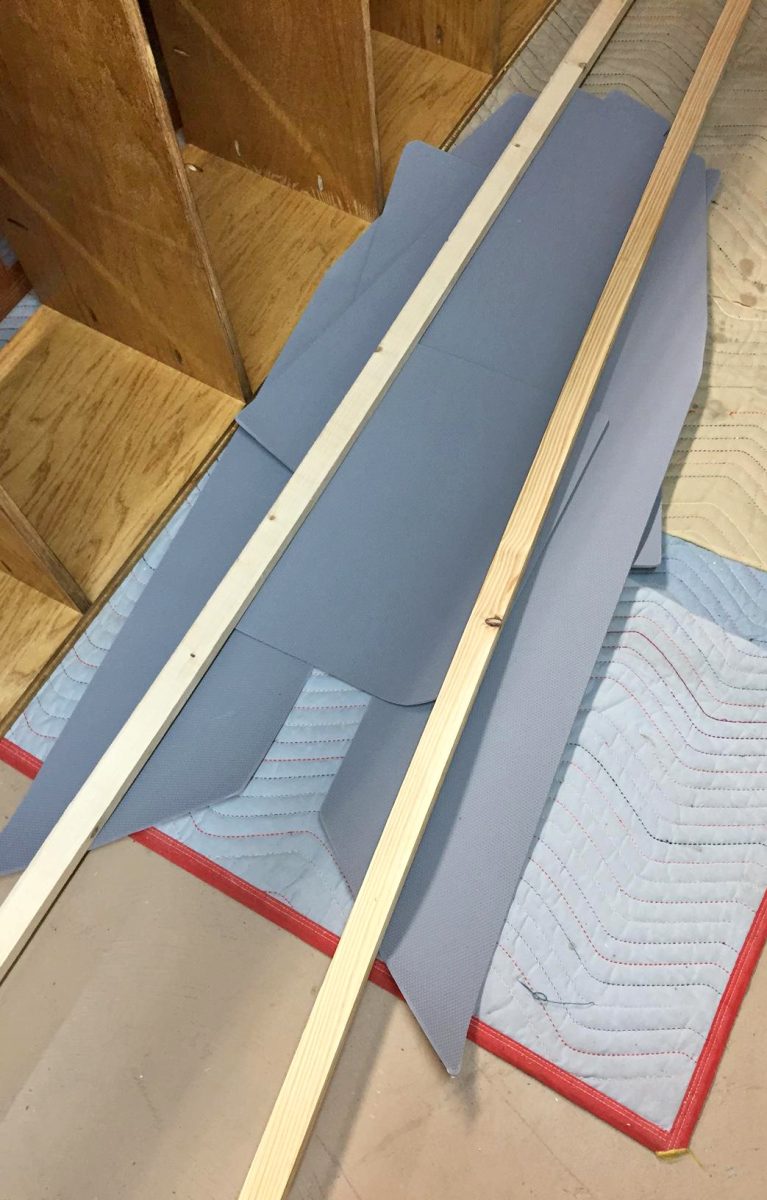
Those are our pieces we made. Going to put them on boat tomorrow and will post pictures of the results. Probably will make some more templates with any remaining material and get them on the boat as well.
Thanks for the great step by step instructions Jared! Stay tuned for Part 2 of the DIY process!
Original post on The Hull Truth: www.thehulltruth.com/boating-forum/662305-diy-seadek-hydrasport-2250-a.html
SeaDek Sheet Material comes in a variety of colors and sizes. To order sheet material for your next DIY project, visit: www.seadek.com/c-5-sheet-material.aspx.
Copyright © 2013-present. SeaDek Marine Products. All rights reserved.